How to Install WordPress on Google Cloud Compute
Let’s go ahead and connect a Google Cloud Compute VM Instance to SpinupWP. Before you start this process, you will need to sign up for a Google Cloud Platform account if you don’t already have one.
Once signed in, navigate to Compute Engine > VM Instances and click Create. When adding a new VM instance via Google Cloud Platform:
- Enter a name for the server
- Select the region where the server will be hosted
- Select a machine type, which will determine how many sites you can host on the server and the amount of traffic it will be able to handle. Check out our Server Size doc if you need more help selecting a machine type
- Select Ubuntu 22.04 LTS as the boot disk. You may also want to increase the boot disk size, depending on the size of your sites
- Enable both HTTP and HTTPS to ensure web traffic can pass through the firewall
All other options can be configured as required, or left as their default values.

Once the server has been created, copy the external IP address and click SSH. This will open a terminal connection via your browser.
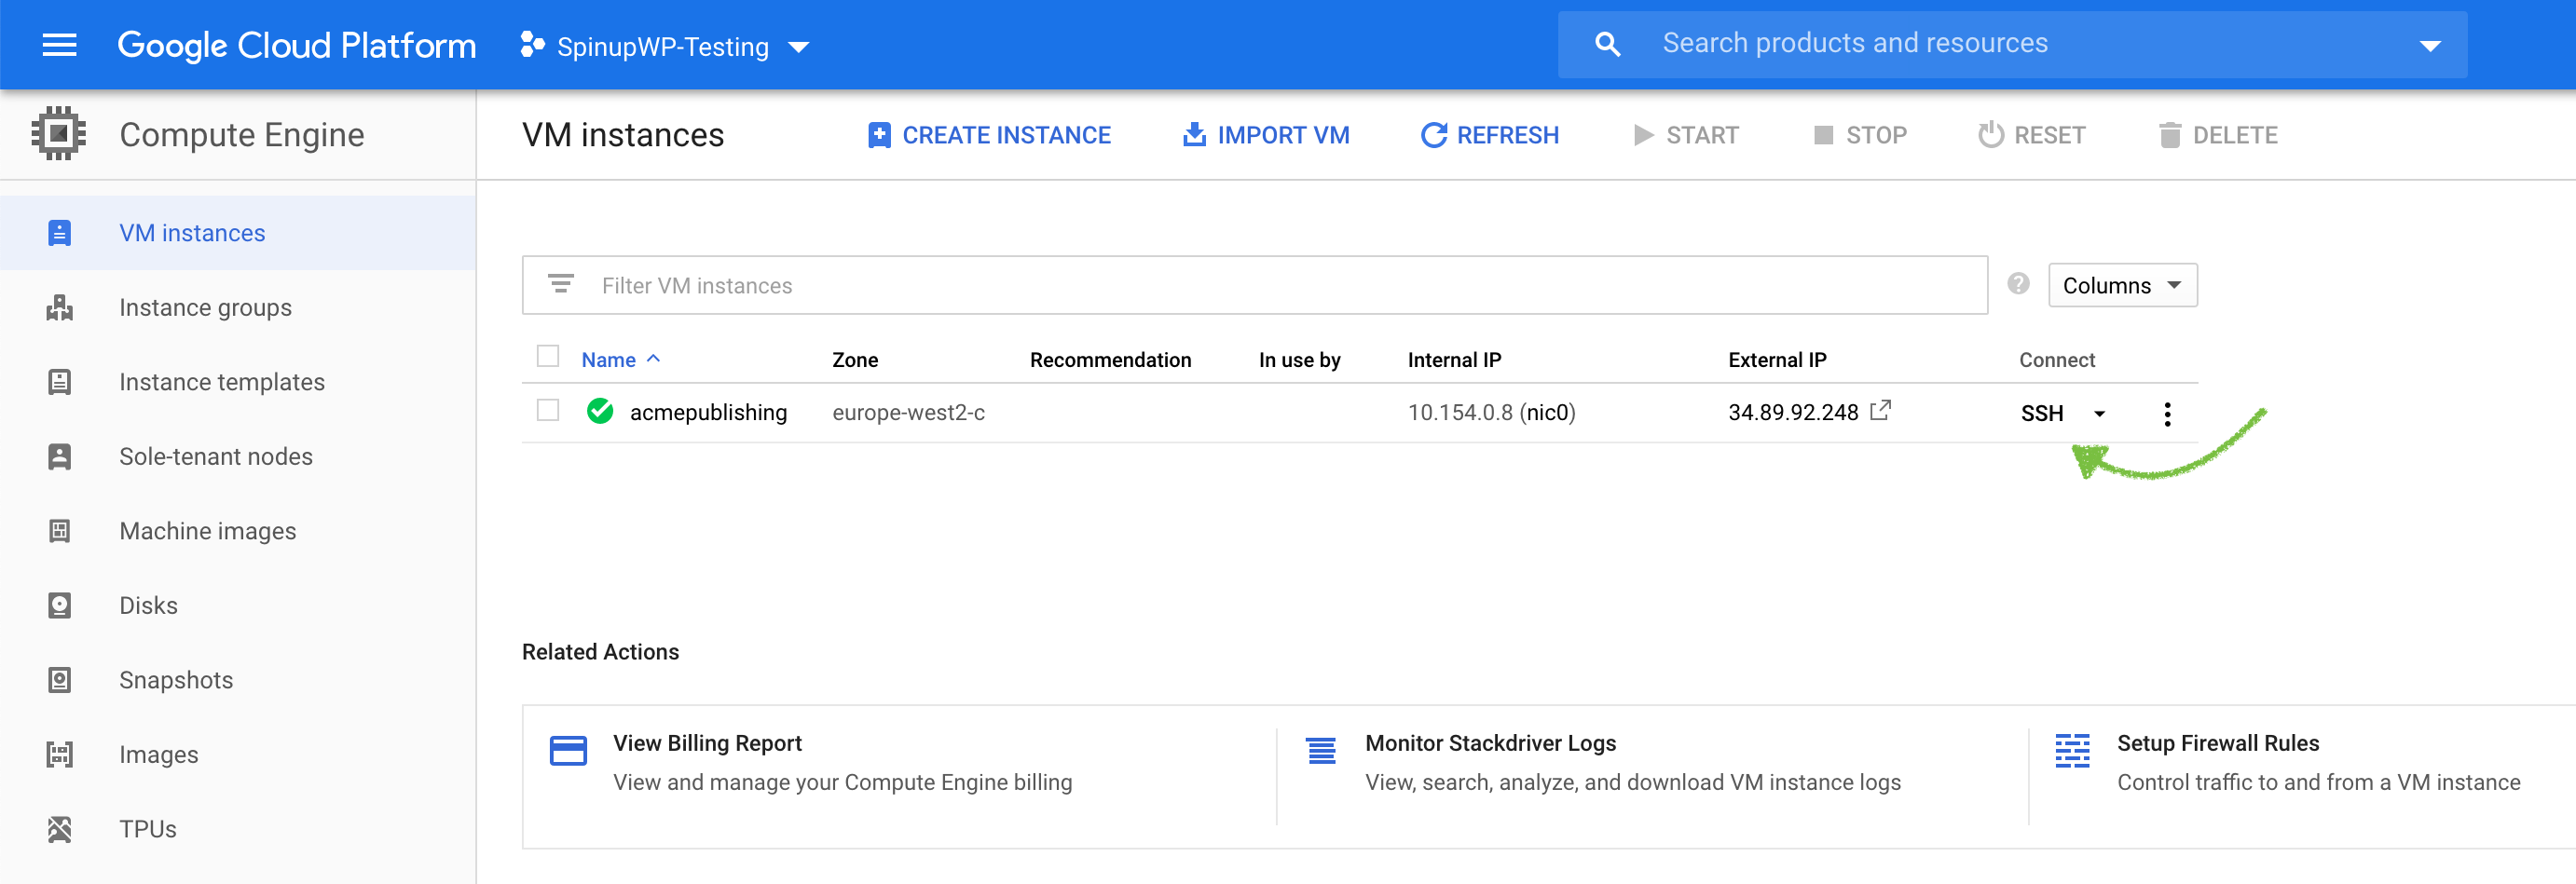
The SSH console will connect using the default SSH user which is generated from your Google Cloud account email address. For example, if your email is alex@acmepublishing.com, the SSH username will be alex. We’ll use this user to provision the server.
Head over to SpinupWP and click Spin Up a New Server followed by I’ve already provisioned a fresh server. Enter the server’s external IP address, SSH username and select Public Key authentication.

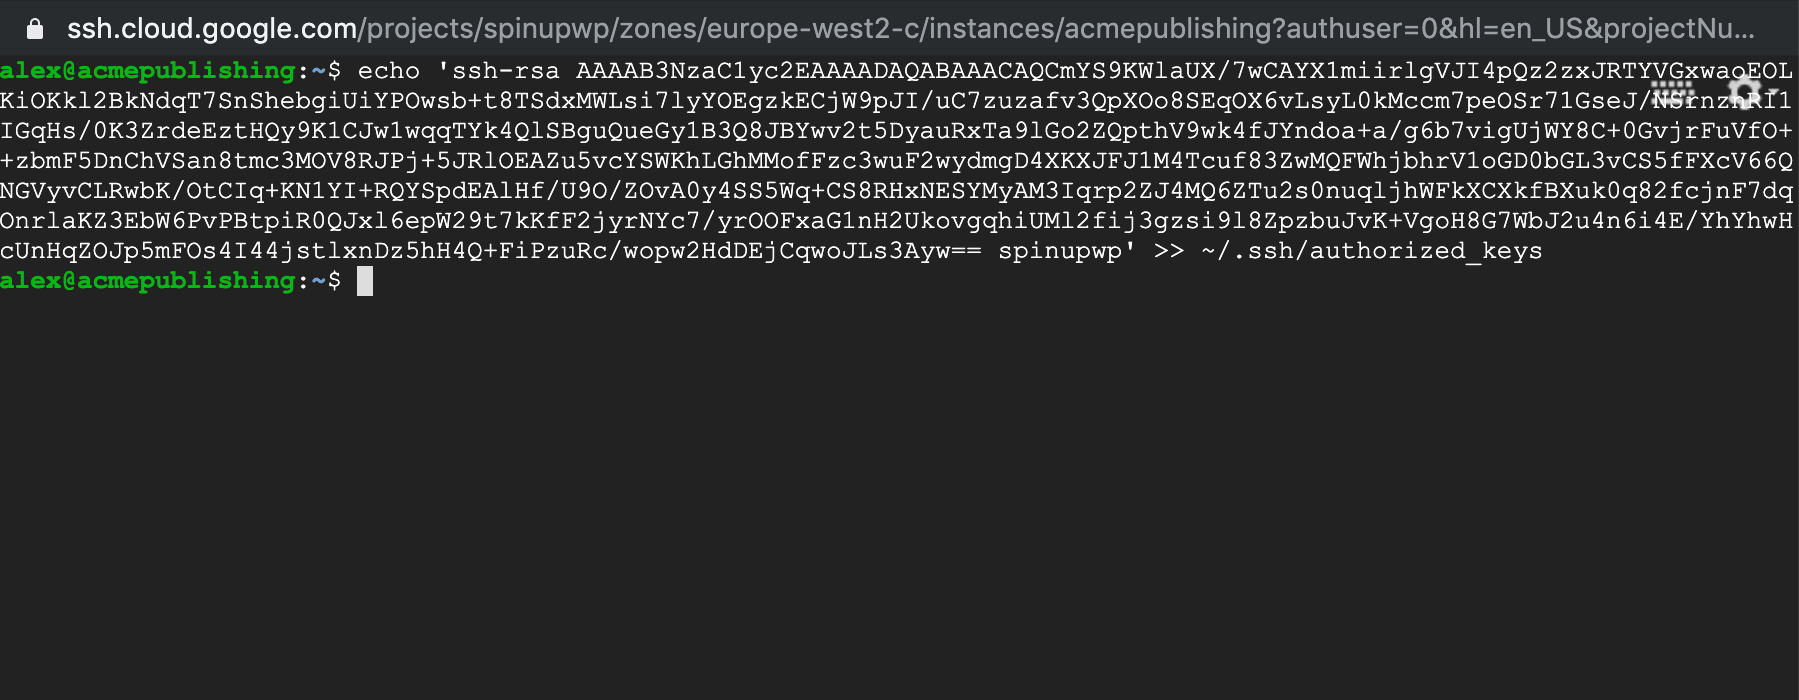
Copy the command provided by SpinupWP into the browser terminal connection.
Confirm the connection by clicking Next in SpinupWP. Enter the server’s hostname and select the desired database server. Click Provision Server to begin the provisioning process.
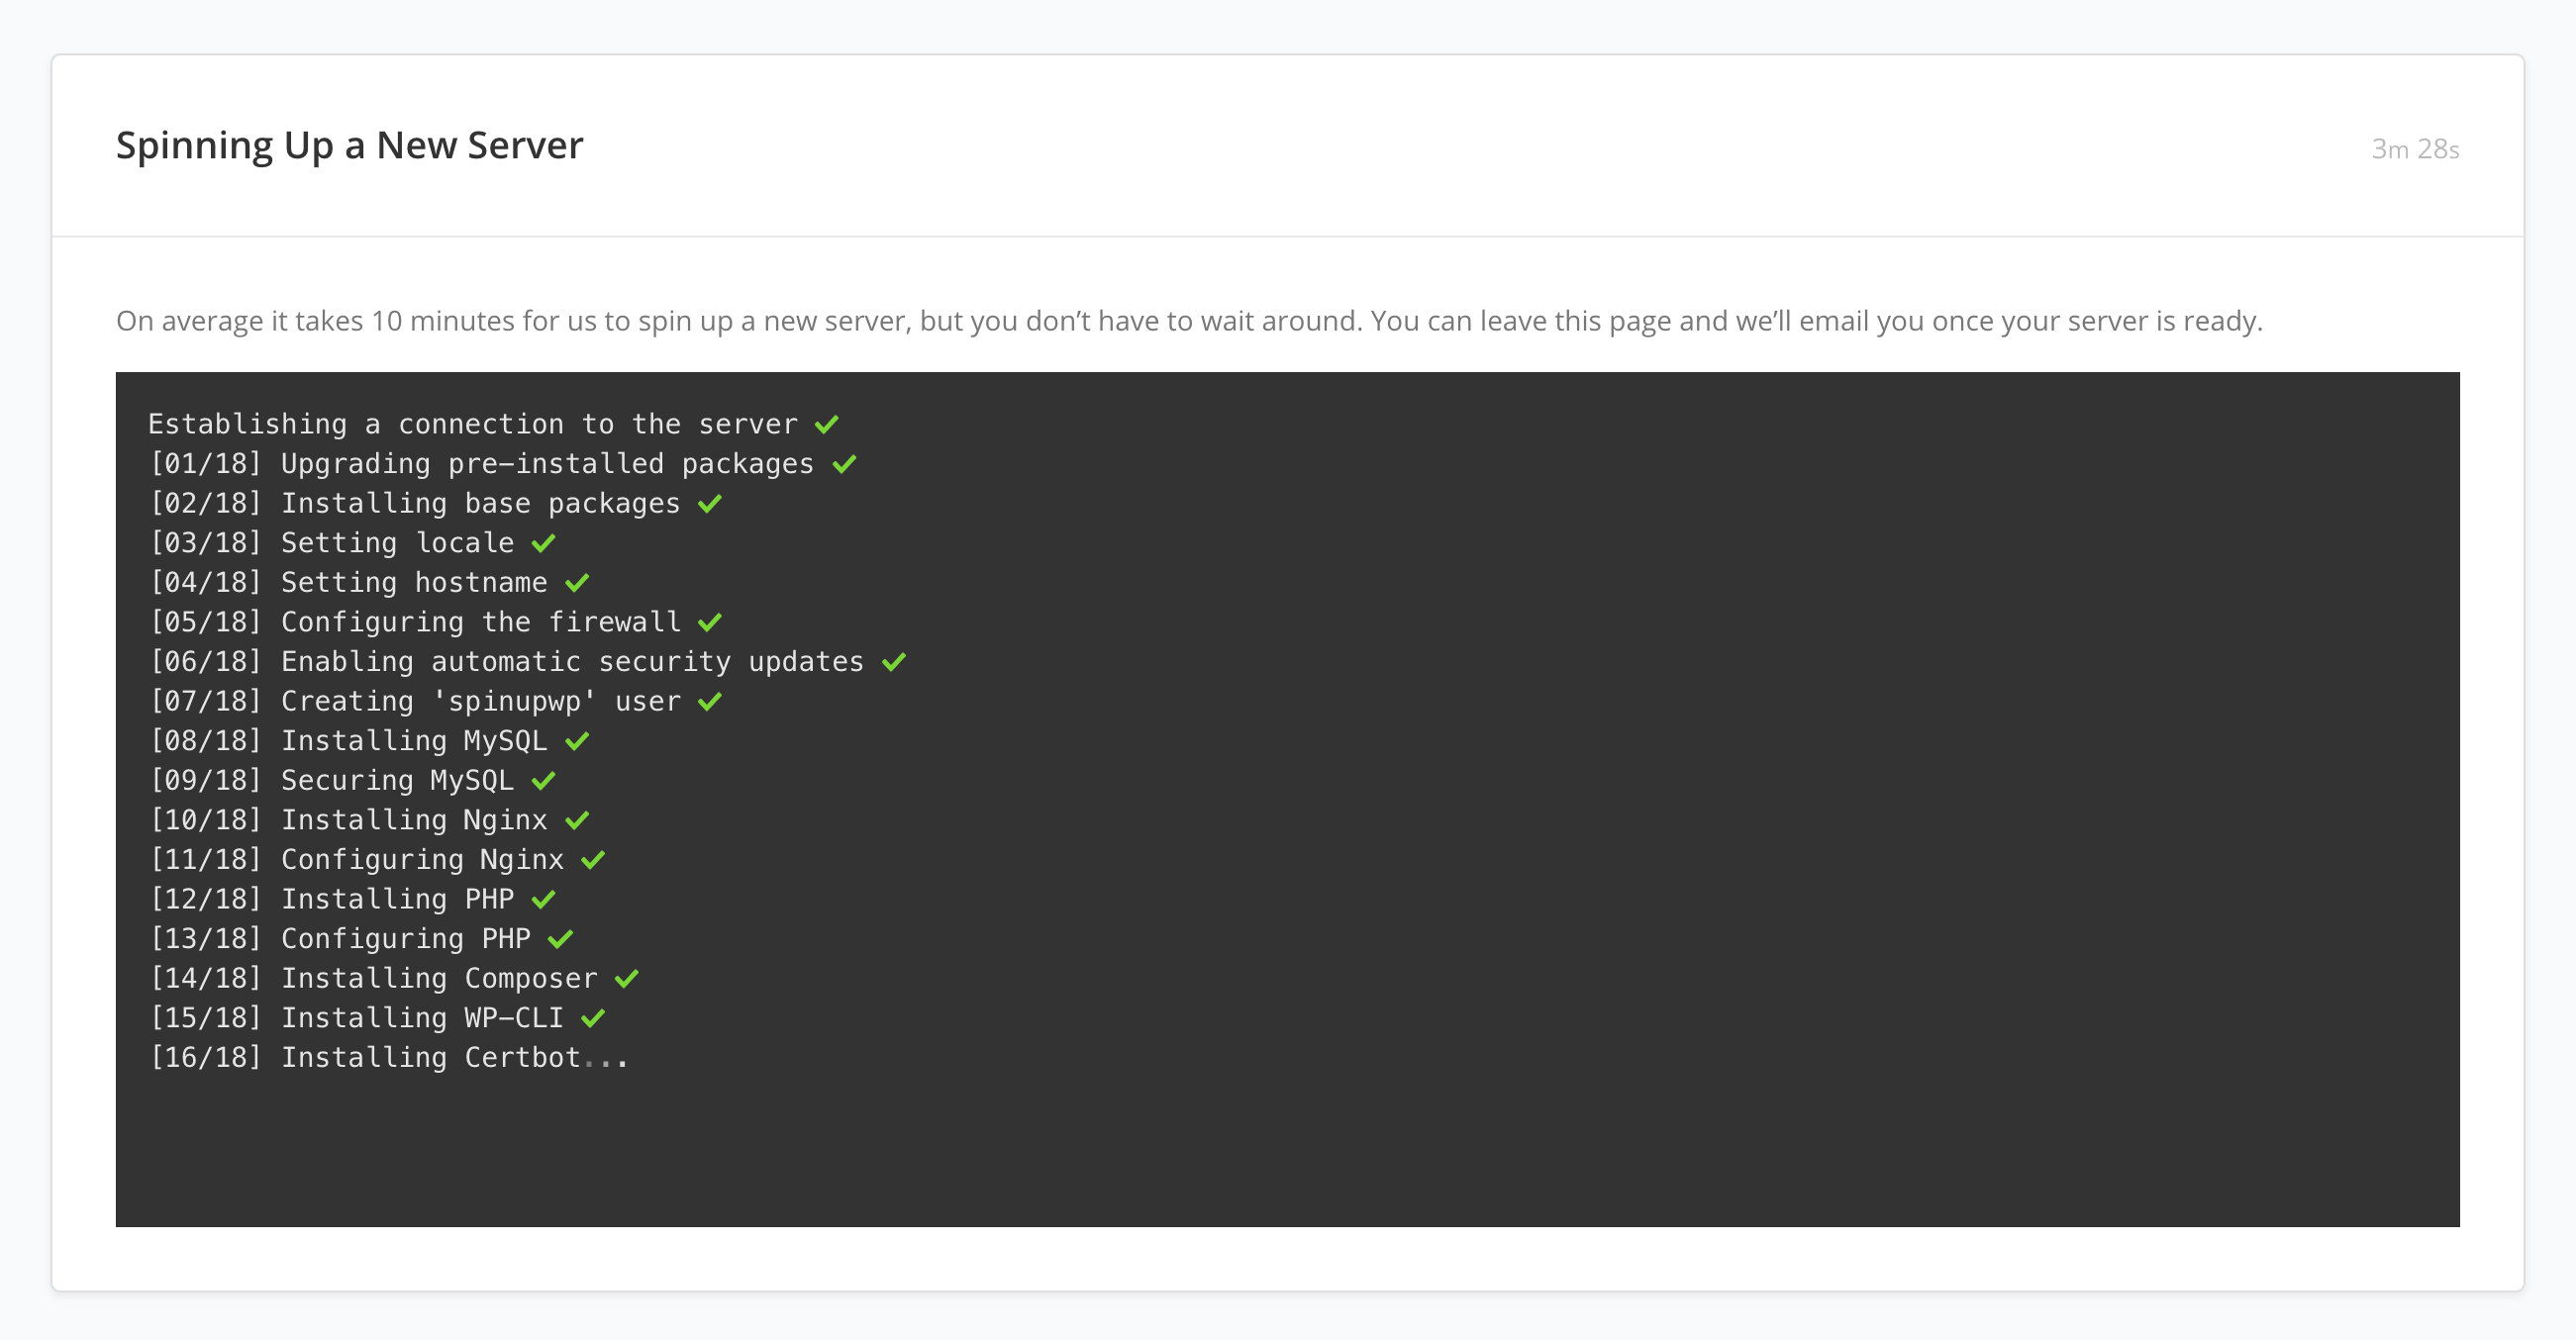
Once the server has finished provisioning you’re ready to start adding sites. Check out our Getting Started doc if you need more information.